Here is a very easy way to create a makeshift vegan watercolor pan set using watercolor sticks from Daniel Smith. At the end of the post I’ll link to the first painting I did using this set-up.
Daniel Smith now actually makes half-pan watercolor sets, and I’m sure it’s only a matter of time before the pans will be available individually. But, if you want to mix and match your own colors like I do for now, and want full-size pans, check it out. Another advantage of using this system, is that you’ll have a long leftover piece of watercolor stick from each color. That means you’re actually getting pans and watercolor sticks in one!
Why pans?
I’ve been painting watercolors for about 13 years. I’ve always preferred using pans over tubes – I think it’s because I’m a messy person, and the drier everything is the better. I also find I can get them to last a lot longer than watercolor tubes. But, it really depends on the painter. If you’re new to watercolor painting, you might want to try both before committing to one system.
Switching to Vegan Watercolors
When I went vegan, I realized a lot of my art supplies contained animal ingredients from killed or captive animals. For example, many watercolor paints contain oxgall and honey.
I wanted the art I make going forward to use all vegan materials. In the process of figuring out what to buy, I ended up creating the Double Check Vegan list of vegan art supplies.
However, at first, I had trouble finding professional grade vegan watercolor pans, especially ones I could mix and match myself. I learned that Daniel Smith makes professional grade watercolors, and that most of them are vegan.
Daniel Smith didn’t make pans at the time, but I suspected that their watercolor sticks would perform similarly if I took the wrapping off, and they do.
First, here are the supplies I used. Scroll down to see read the step-by-step guide. This post may contain affiliate links.
Supplies
1. Daniel Smith Watercolor Sticks
According to the company, all Daniel Smith watercolors are vegan except Ivory Black, Sepia, and Payne’s Grey. Their watercolor sticks run about $9/each at Blick, and more elsewhere, but they last a LONG time. Because each stick can make around three full pans, if you find a friend or classmate to go in on them, you can divide the cost. Or, as I mentioned above, you can actually use the other 2/3 of the stick, as a stick!

![]()
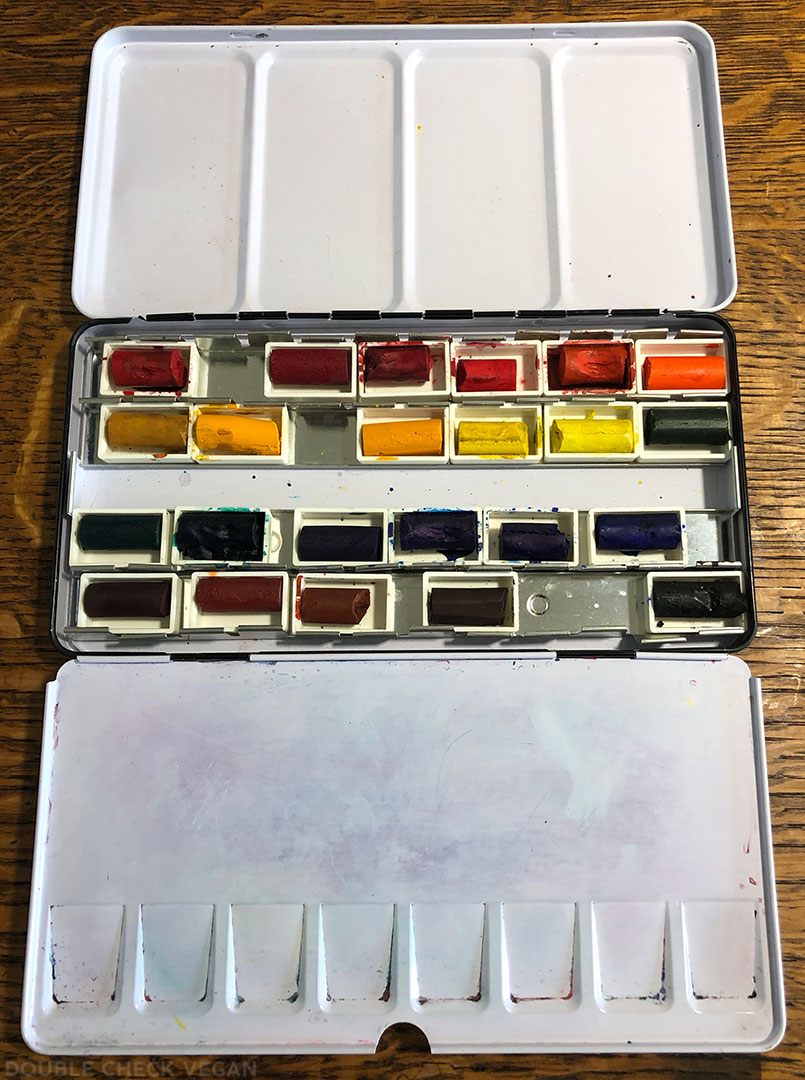
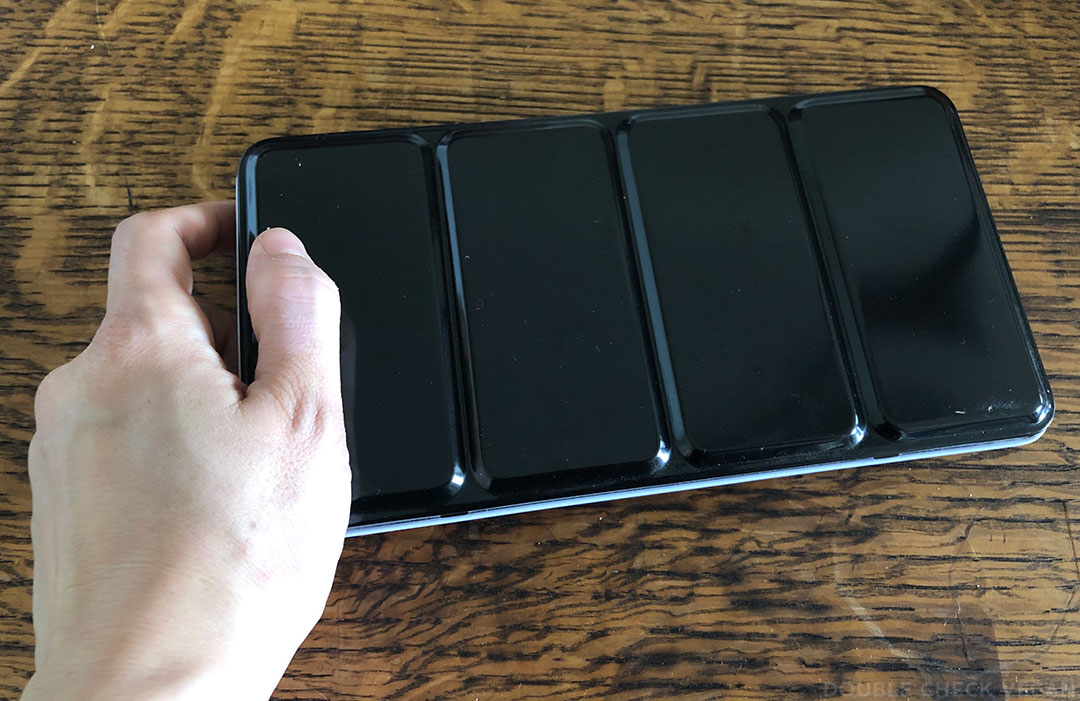
2. Palette Box

![]()
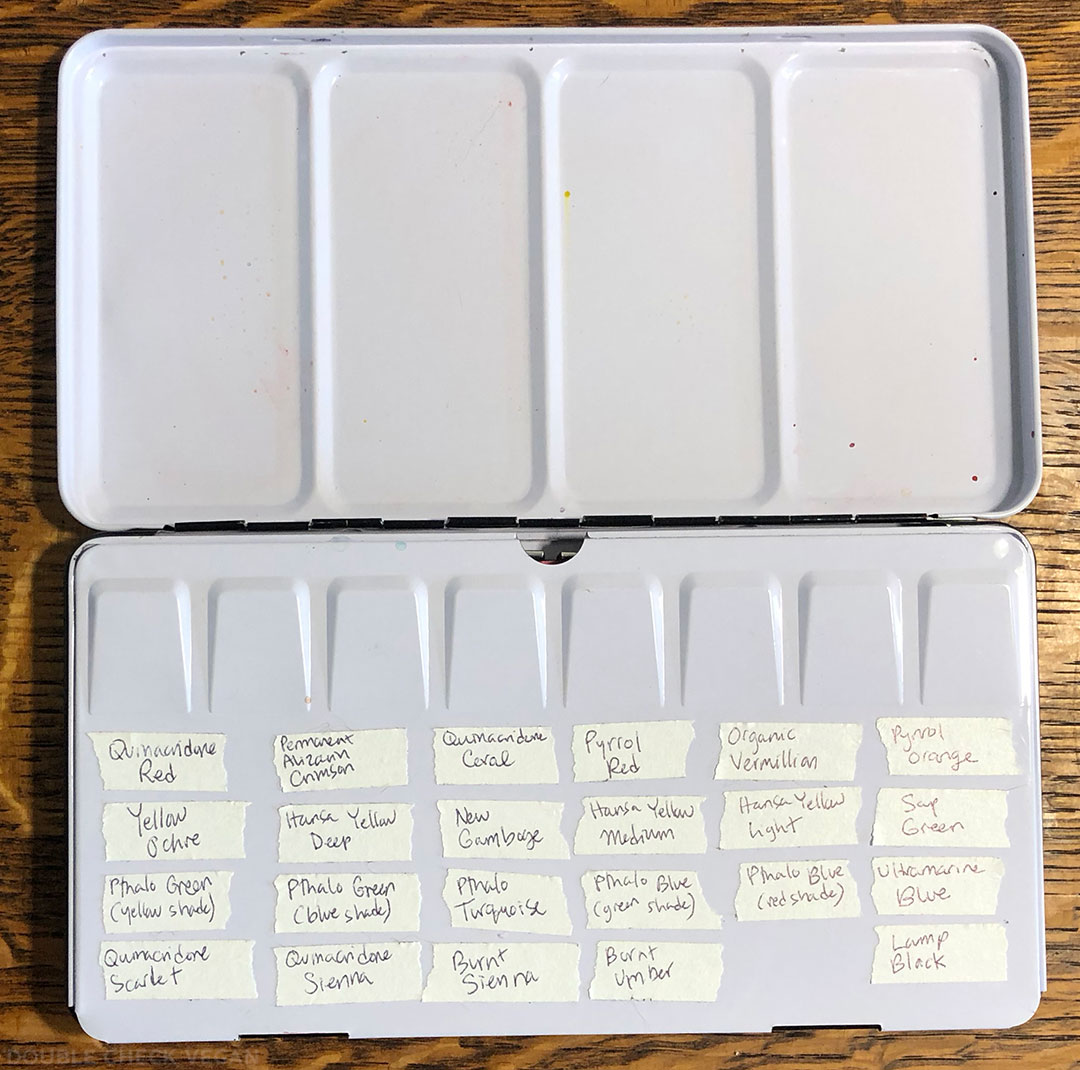
I use this Meeden metal palette box with 24 empty full pans. It comes in different sizes, with different pan quantities, and you can also choose half-pans instead of full. It’s really solid, and I’m very happy with it.
3. Razor blade or cutting implement
I use an Olfa knife because freshman year of art school a teacher I didn’t even really like recommended it. I did, however, like the knife, and I’ve always used it since, but any razor will do. I just like to talk about the Olfa, because it’s cool how you can (carefully!) break off each blade segment once it dulls.

![]()
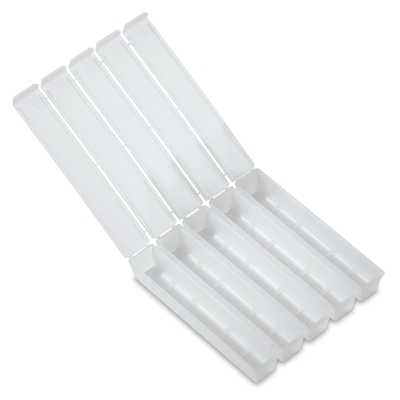
4. Daniel Smith Watercolor Stick Holders
Because I’m kind of messy, I decided to take advantage of the handy holders that Daniel Smith makes for their watercolor sticks. Yes, they’re plastic, but they’re reusable, and if I stop using the sticks, I’m sure I can think of something else to put in them.
Steps
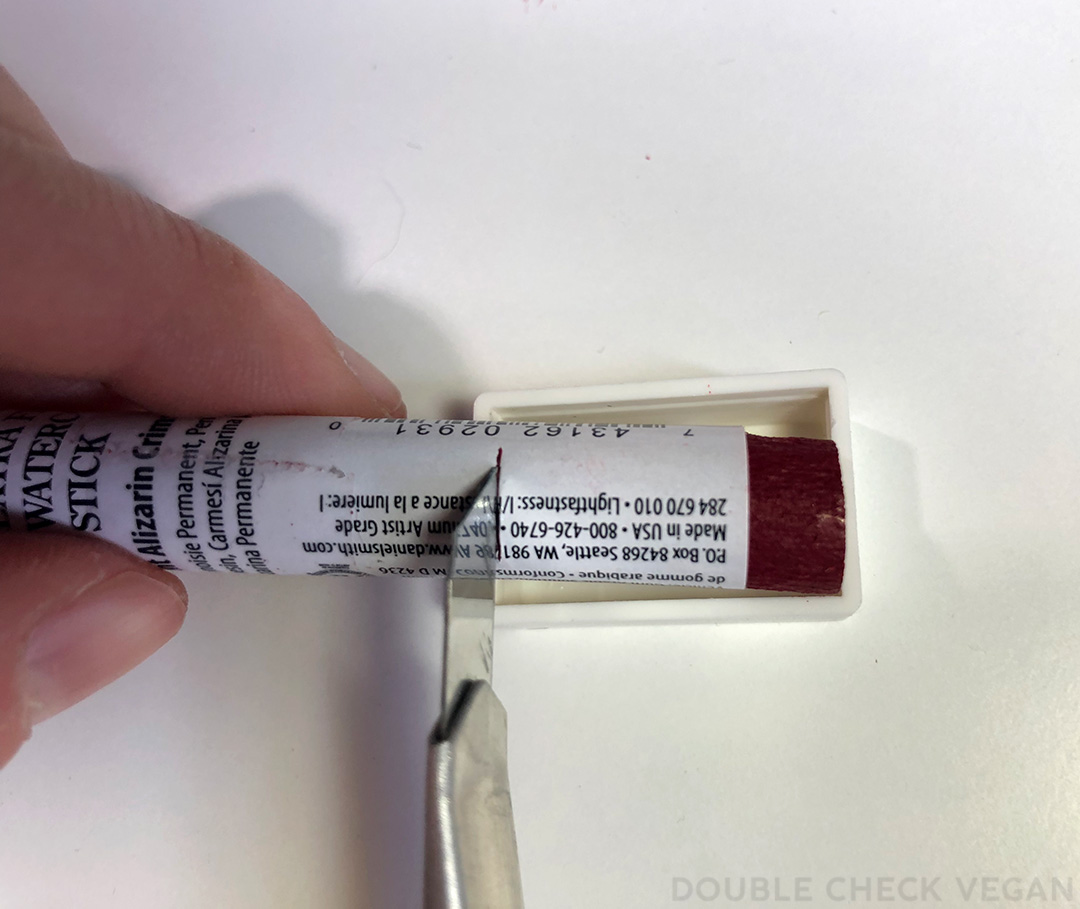
- Guiding groove:
Hold the watercolor stick up to a pan. Use a razor to mark a guide groove where you’ll be cutting – short enough to fit in the pan. Don’t worry about there being extra room. Once the stick segment gets wet, it will stick in place.

- Cut:
Cut down all the way through the watercolor stick. Use a cutting mat or cardboard to avoid damaging your work surface. Be careful with your fingers! I hold the razor only like 1/3 of the way over the stick, cut down, and then keep rotating the stick. Once it’s only attached in the middle, I cut all the way through. - Peel it:
Peel the wrapping paper off the cut segment, but leave the paper on the leftovers. Once the segment is peeled, make sure you’re keeping track of what color it is. - Store the leftovers:
I recommend using the Daniel Smith watercolor stick holders made just for this purpose, to keep them clean. You could probably find some Altoid tins as well. - Arrange your palette:
The Meeden metal palette box lets you move around your pans at will. I like to keep like colors together. Sometimes it’s hard to tell which color is which, so I’ll test each color on some scrap paper. - Make a palette guide:
Once you’re happy with the layout of your colors, you can make a handy guide so you know what color is what, and what it will look like. I have been too lazy to make a painted grid, so I just make tape labels. When I want to remember a color, I flip up this panel of the box to check.
Paint!
Here’s my first vegan painting using this makeshift watercolor pan set. I posted a bigger version and wrote about the painting here:
Outside Farmer John – Vegan Watercolor Painting.

What do you think?